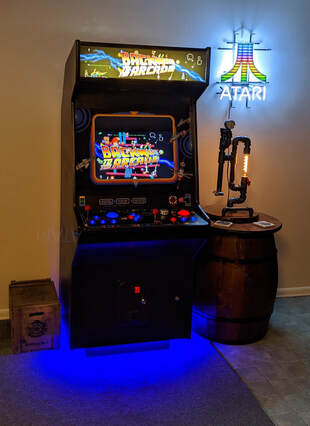

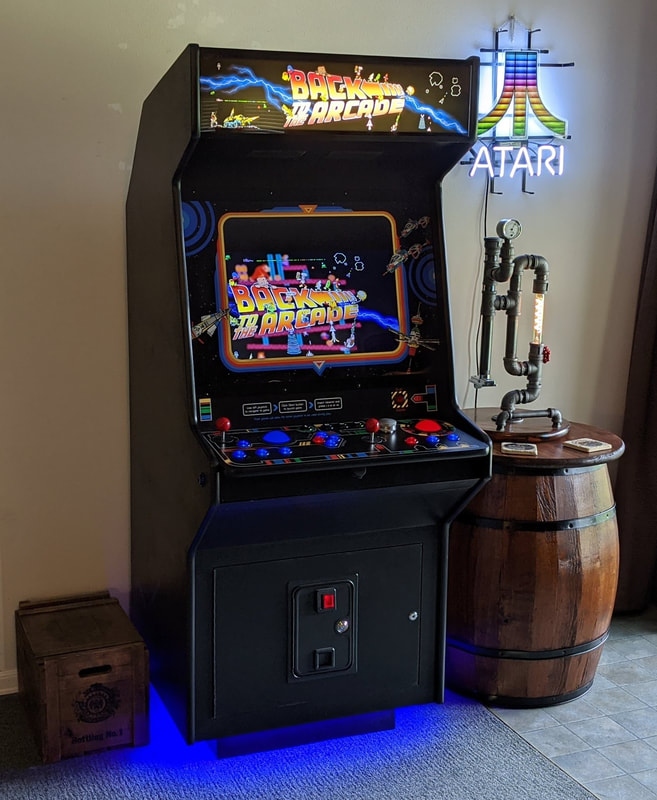
 It has finally come down to this. It’s been over 2 years since I built my stand-alone arcade control panel and I am now ready to build the cabinet. The main reason for this timing is that after many years in a house too small for an arcade machine, let alone a family of 6, I finally have the space to enjoy it. The cabinet build went quite well after I chose a design profile which you would think an easy task, but that’s not quite the case. As you can see from the images below, there are no shortage of designs but as you will see shortly, I went with what I consider the classic design which can also be seen in the Williams cabinet designs.
Although I used the Williams profile as my inspiration, I made a few changes to accommodate some features not normally found in arcade cabinets. One of the most notable, but also most invisible is the addition of a pull-out tray to accommodate a steering wheel/pedals or Analog flight style joystick for those games that require those controls to function properly. One thing worth noting is that when I designed the original stand-alone control panel that would eventually become the panel in my cabinet build, I had to consider the overall width of my machine. I wanted it to be wide enough for two people to play head-to-head games side-by-side without interfering with each other. Yet I had to keep it skinny enough to fit through a standard doorway (the last thing I needed was to get it all built in my garage and not be able to gt it into my game room). In the slideshow below, you will see a cardboard panel with printed buttons that we used to 'mock play' games side-by-side to test the concept. It actually worked out quite well. I built my entire cabinet from 2 sheets of MDF, including the control panel which I had to re-build since the original did not quite fit the geometry of the cabinet. One of the drawbacks of building the panel before I had all the details worked out for the cabinet. Continue to Part 10 - Artwork Intro | The Games | Control Panel Configuration | The Controls | Control Panel Lights | Research | Specific Games | Hardware & Software | Game Configurations | Cabinet Build | Artwork | Bonus | Leaderboard | Summary
0 Comments
Leave a Reply. |
Dan BlanchardThis is my collection of tips, tricks, and projects that I have made over the years while enjoying my various hobbies. Categories
All
Archives
July 2020
|

 RSS Feed